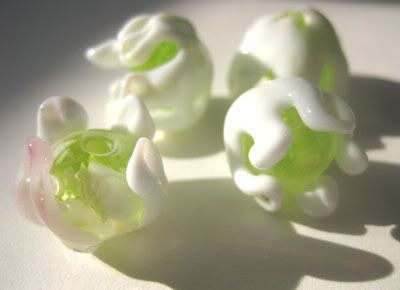
i rather like them, so i drew a little illustrated tutorial in my bead sketchbook so that they can be made again later.
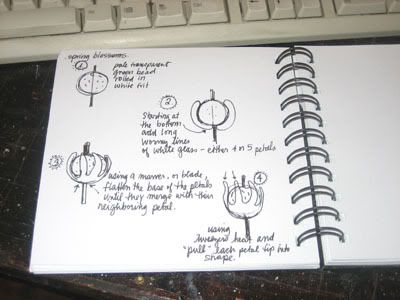
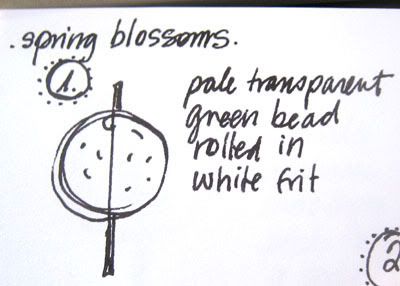
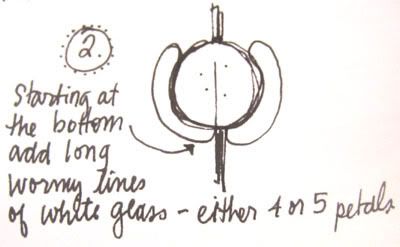
here it is step by step:
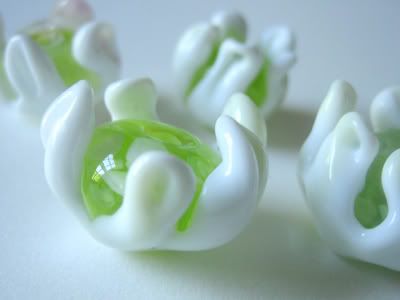
these floral beads could be fun in lots of color combinations, or with clear in the center which sort of disappears leaving just the petals.
i actually dipped the warmed white rod of glass into some rubino oro homemade frit before applying the petals to the bead - if you look below you can see the hints of pink.
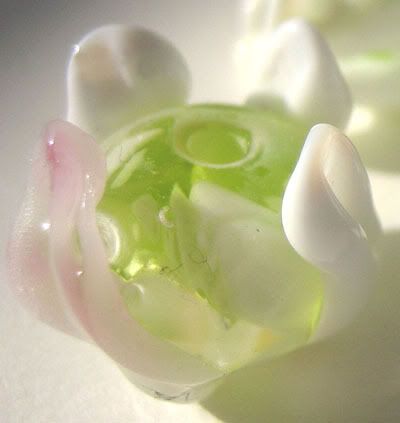
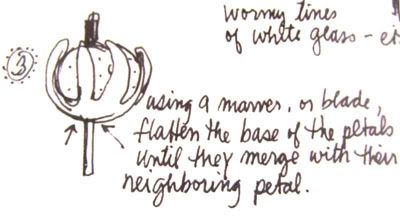
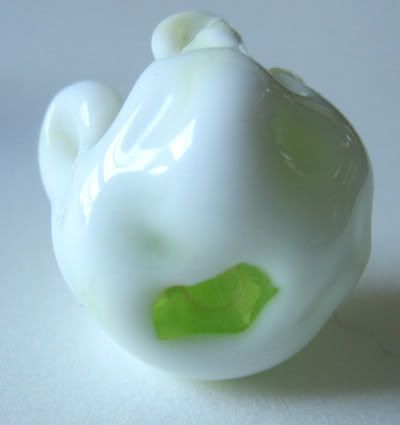
sometimes if the flattened petal bottoms won't cover the whole of the inside bead, it this happens add a drop or two more of the white glass and flatten it to cover better. i use a stainless steel cheese knife.
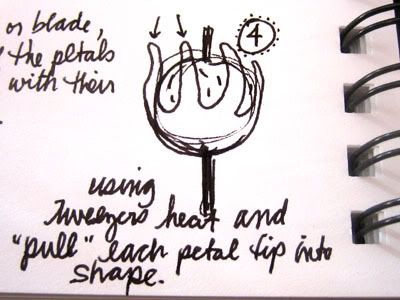
the tweezers should be non-serrated with fine pointed tips. when you do a final flame anneal on the beads after pulling the petals, the tips of the petals will round out a little bit and look nice and natural.
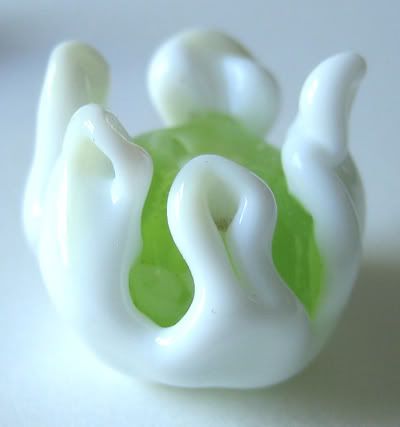
these are great to make in pairs for earrings - strung on headpins, with freshwater pearls, either petals up or petals down.


2 comments:
These are beautiful, and so delicate! I know what you mean about making beads and then x days, weeks, months later taking pix. Sometimes you just have to wait for the perfect light, right?
Thanks for sharing...
Your sketchbook is brilliant! I keep a sketchbook for ideas, but I never put tutorials in it. Time to start.
Post a Comment